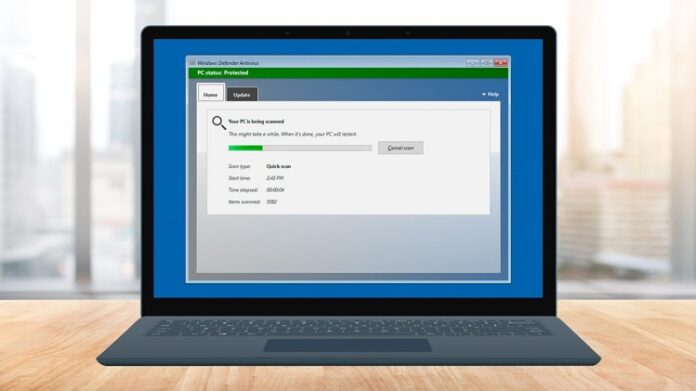
With the increase in the use of the Internet, cybersecurity has become a great issue for the current generation of active users. The internet is used for looking up facts, movie show timings and booking flight tickets. This is why there is a threat to your personal information and credit card details being stolen. Many security applications and anti-virus tools are designed to tackle this issue.
Microsoft Windows Defender is one such security suite that Microsoft installs in every version of Windows. Even all the files that get downloaded through Microsoft edge go through Windows Defender to scan them for viruses and other malicious files. Microsoft Defender is one of the most sought after antivirus scanner.
However, Every Windows 10 user should know how to disable Windows Defender in Windows 10. Despite its essential role in Windows security, there are good reasons to disable Windows Defender. You should disable Windows Defender if you plan to install another antivirus application.
If you don’t, you can expect problems to occur. Windows 10 might fail to install its updates. Windows Defender and your new virus program might identify each other as something malicious too. This will allow some malicious software to slip through.
Table of Contents
How To Disable Windows Defender Antivirus on Windows 10
This guide will help you learn how to disable your windows defender in a computer that runs on Windows 10. Here’s how-
- Through the Settings
- Using Registry Editor
- Using Group Policy
- Using Downloads with Storage Sense
Through the Settings
You can disable windows from the control panel in just a few easy steps. This is the quickest and surest way of getting your job done. Here are the steps you should follow to disable windows defender from your Windows 10 PC-
- Open the start by clicking on the Windows logo at the bottom left corner.
- Click on the gear-shaped icon to open settings.
- Click on the option that reads ‘updates and security’.
- Click on ‘virus and protection’ and within that list click on ‘protection areas’, this will open the Defender window.
- Click on virus and threat protection settings in this window.
- Turn the toggle switch off for this setting to make sure you disable Windows Defender.
This method conveniently allows you to make sure that Microsoft Defender does not interfere with your work and does not restrict other applications.
Using Registry Editor
This is a slightly complex but quick fix to solve your issue and disable Windows Defender from your PC. Here’s how you can do it-
- Open the start menu and then search for regedit.
- Click on the first result that pops up and click yes when prompted.
- Go to the window’s Defender’s folder location and expand the location folder to expand the policies of the software.
- Expand the Microsoft folder and locate the Microsoft Defender in these options.
- Right-click on this option and select “NEW” in the drop-down menu.
- Click on option ‘D-word 32 bit value’ in the pop-up menu that appears.
- Select the ‘DisableAntiSpyware’ and replace the Data Value to one of the new pop up screens.
- Click ‘OK’ and restart your computer to disable Windows Defender.
This allows the users to completely disable the application and making sure that it does not scan other apps and does not interfere with your work when you require it.
Using Group Policy
This is by far the most complex method to disable your Windows Defender. If you haven’t used Group Policy before, it is ill-advised to use it for the first time for this purpose.
For all those who have used Group Policy before, here’s how you do it-
- Click on the search box at the bottom-left side of your screen.
- Type run in the search box which will open a pop-up menu.
- Enter gpedit.msc into Run and tap the enter key on your keyboard.
- Click on the option that reads ‘Computer Configuration’.
- Click on ‘Administrative Templates’ and then select ‘Windows Component’.
- Scroll down the list that is displayed and search for ‘Windows Defender Antivirus’.
- Double click on the ‘Turn off Windows Defender Antivirus’.
- Select the enable button and then click on ‘OK’
This complex method completely disables the Windows Defender and allows the computer to function without constant surveillance. This makes it easier to function on applications that would have otherwise been deemed unsafe for use by the Defender.
Using Downloads with Storage Sense
This allows you to remove the files that allow Defender to scan your files. Here is how you can use the downloads with storage sense-
- Click on the search box on the bottom-left corner and search for ‘Storage’.
- Click on the storage meter labelled This PC at the top of the Settings app.
- The tool will now examine your drive. Once this examination is over, select temporary files from the list of options running along the left side of the screen.
- Uncheck all the boxes except the one that reads ‘Windows Defender Antivirus’.
- Now click on the ‘Remove the Files’ button.
This not only get rids of the interference that is caused due to Windows Defender, but it also allows you to free up space by deleting the files that would have been useless once you disable the security software.
Conclusion
These are all the various methods you can use to disable your Windows Defender when you require to. Using the settings and downloads with storage sense might be very easy to implement, the other two complex methods are also foolproof and give you the same results. You can implement them if you know your way around gadgets and are well versed with the registry editor and group policy.
Go ahead and try these methods today to make sure that your security application does not hinder your work.


