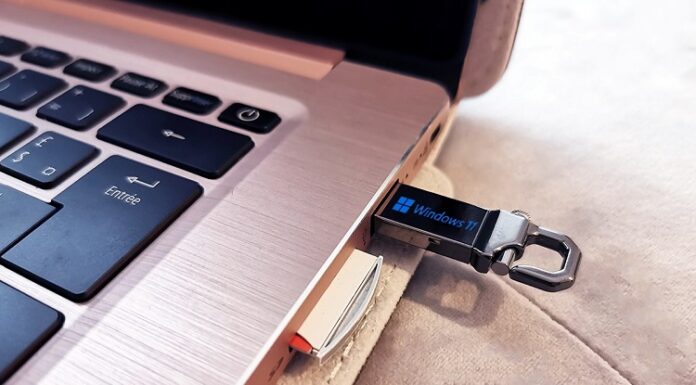
When you require installing Windows 10, USB bootable media will be required to start your device or system as well as to continue with the launching wizard. If you have a system with UEFI, you need to ensure that bootable media will go perfectly with the motherboard firmware type.
There are several ways to install Windows 10 from USB bootable media with support for UEFI.
In this guide, you will learn the steps of using these ways.
- Using Media Creation Tool
- Using Rufus Tool
Table of Contents
Using Media Creation Tool
If you want to create Windows 10 UEFI boot media, you can choose to use Media Creation Tool in order to carry out the in-place upgrade or installation of Windows 10.
For this, first of all, you have to create a bootable media by connecting your USB flash drive, which must be a minimum of 8GB of space.
Now, follow these steps.
- Open Download Windows 10 page.
- Click button ‘Download tool now’ under ‘Create Windows 10 installation media’. It will save the file on your system.
- Once it is saved, double-click the exe file to install the tool on your system. The file would be like MediaCreationToolxx.exe
- Now, you have to click the ‘Accept’ button in order to agree to the terms and conditions of Microsoft.
- In the next window i.e. Windows 10 Setup, select an option ‘Create installation media (USB flash drive, DVD, or ISO file) for another PC’ and click Next button.
- After this, uncheck the option ‘Use the recommended options for this PC’.
- Now, select the appropriate Language, Edition and Architecture for your PC.
- Click the Next button.
- Now, as an answer to ‘Choose which media to use’, select option ‘USB flash drive’ and click the Next button.
- Now, select the removable drive and if you are unable to see your removable drive, simply click on the ‘Refresh drive list’ link.
- Click the Next button and then the Finish button.
After completing these steps, the Media Creation tool will download and install the necessary files and a bootable USB flash drive will be created using UEFI and BIOS support.
Using Rufus Tool
If you are unable to create Windows 10 UEFI boot media with the help of the Media Creation Tool, you can use Rufus tool as another method to do the same.
Rufus tool can also be used for downloading Windows 10 files from Microsoft servers and helps in creating bootable USB flash media.
Steps to create bootable media using Windows 10 ISO
You need to follow the given steps to create boot media with already having Windows 10 ISO file.
- First of all, it is required to connect a USB flash drive which must have at least 8GB space.
- Next, open the download page of Rufus.
- Click the latest release of Rufus tool under the ‘Download’ section. It will save the file you want on your device.
- Now, launch the tool by double-clicking the Rufusxx.exe file from the list.
- In the next window, you will see a few sections which you require to select and fill.
- Under ‘Drive Properties’ heading
- Select USB flash drive with a minimum of 8GB of space under the Device section.
- Select the ‘Select’ button under the ‘Boot selection’ section.
- Select Windows 10 ISO file and click the Open button.
- Select the ‘Standard Windows Installation’ option from the drop-down menu under ‘Image option’.
- Select ‘GPT’ option under the ‘Partition scheme’ section.
- Select the ‘UEFI (non CSM)’ option under the ‘Target system’ section.
- Under ‘Show Advanced drive properties’, you need not change anything and leave them as they are in the default settings.
- Under ‘Format Options’ heading
- Enter a descriptive name for the drive under the ‘Volume label’ section.
- Do not change any default setting under the ‘File system’ and ‘Cluster size’ sections.
- Select ‘Show advanced format options’.
- Now, check both options ‘Quick format’ and ‘Create extended label and icon files’.
- After making all these changes, Click the ‘Start’ button.
- Now, click OK and then click the Close button.
Once these steps are finished, a bootable USB flash drive is created to install Windows 10 with the available image.
Rufus tool to download Windows 10 ISO
Rufus tool can also be used to download Windows 10 ISO file from Microsoft servers and is helpful in creating bootable USB flash media. Simply follow these steps.
- The very first step is to connect a USB flash drive with a minimum of 8GB space.
- Now, open the download page of Rufus tool.
- Click on the latest release of Rufus tool which comes under the ‘Download’ section.
- To launch the Rufus tool, you require a double-clicking Rufusxx.exe file.
- Under ‘Drive Properties’ heading, Select USB flash drive with minimum 8GB of space under the Device section.
- Select the ‘Download’ button in the drop-down menu under the ‘Boot selection’ section.
- Using ‘Version’ drop-down menu, select the option ‘Windows 10’.
- Click the ‘Continue’ button.
- In order to download ‘Windows 10 May 2019 Update’, you have to select ‘19H1 (Build 18362.30 – 2019.05)’ option from the list.
- Click on the Continue button.
- Under the Edition section, select the ‘Windows 10 Home/Pro’ option.
- Click on the Continue button.
- Under the Language section, you have to select your desired language for installation.
- Click on the Continue button.
- Under the Architecture section, select either 32-bit or 64-bit.
- Now, click the Download button and select a location to download Windows 10 ISO file from Microsoft servers.
- Click the Save button.
- Select ‘Standard Windows Installation’ option from the drop-down menu under ‘Image option’.
- Select ‘GPT’ option under ‘Partition scheme’ section.
- Select the ‘UEFI (non CSM)’ option under ‘Target system’ section.
- Under ‘Show Advanced drive properties’, you need not change anything and leave them as they are.
- Under ‘Format Options’ heading
- Enter a descriptive name for the drive under the ‘Volume label’ section.
- Do not change any default setting under ‘File system’ and ‘Cluster size’ sections.
- Select ‘Show advanced format options’.
- Now, check both options ‘Quick format’ and ‘Create extended label and icon files’.
- After making all these changes, Click the ‘Start’ button.
- Now, click OK and then click the Close button.
Once these steps are completed, Rufus tool will download ISO file from Microsoft servers and then will create a bootable media. This media is then used to install Windows 10 using UEFI support.


