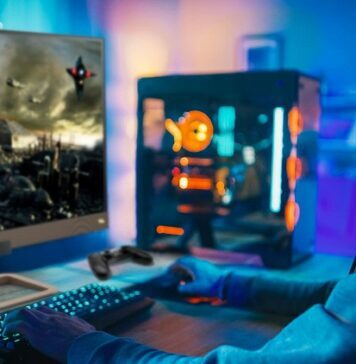
There are several designers and directors or video editors who need to focus on details and make sure that their work is impeccable. It is important for many people in the visual communication field to be able to observe their work on a larger frame and improve their work. This is why it becomes important to connect multiple screens in your Windows 10 device.
Usually connecting another screen to the windows 10 device is a simple process of plugging the monitor to the device using a cable and then using both the monitors. Yet, there are certain driver and hardware errors that will hinder the process.
You can easily solve these issues with the help of some troubleshooting steps. You need to follow them to detect and correct any of these issues to make sure you can connect multiple screens to your device.
Table of Contents
Guide to Fix Second Monitor Detection Error on Windows 10
With the help of this guide, you will be able to navigate your way through the process of troubleshooting the external connection-
Using Hardware Troubleshooting
One of the reasons why your device won’t detect the second monitor that you want to use, might be the physical connection of the monitor. Make sure to check the physical connection of the monitor to ensure that this silly mistake is not causing the error you are experiencing.
If Windows 10 can’t detect the second monitor, you should try these troubleshooting steps to make sure that your physical connection isn’t the root of the problem-
- Restart your computer to re-establish the connection.
- Use the built-in controls present on your monitor to make sure that you have selected the correct input.
- Check the physical connection between the monitor and the graphics card by ensuring the cable is in place.
- Now, you have to disconnect the cable and just wait for a few seconds to reconnect to it again.
- Also try using a different cable to ensure that the issue could isn’t the pins in the connector or a bad cable.
- if you’re connecting a new display, you also need to make sure you’re not using the incorrect cable.
- If the monitor and graphics cards include multiple ports, you can also try switching ports.
- Now, you require connecting your monitor to another system and also ensure that your monitor must not have any issue.
- Connect another working monitor to determine if the issue is with the graphics card or not.
- You require updating the firmware of the monitor that helps in fixing bugs or compatibility issues, which may have occurred as a result of changing the type of monitor you are using.
Using Settings
Once you ensure that the problem isn’t the physical connection, you can use the settings to troubleshoot your problem and connect a second monitor to your device-
- Open on the Settings icon.
- Click on the option titles ‘System’.
- Click on ‘Display’.
- Under the category of “Rearrange your displays” section, you should click the ‘Detect’ button on the bottom-right corner.
Once you complete the steps, Windows 10 should be able to detect the second monitor, which you can then set up as needed using the Display settings.
Connecting Wireless Display
If you are using a wireless display as your second monitor, you need to make sure you follow these steps to connect the devices-
- Open the ‘Settings’ icon.
- Then, click on ‘Devices’.
- Click on the bluetooth icon and then select ‘other devices’.
- Click the ‘Add Bluetooth and other devices’ option.
- Select the ‘Wireless display’ or dock option from this menu.
- Now, you need to turn on the wireless display and also ensure that it must be discovered for both the systems.
- Next step is to choose the monitor you wish to use.
- Follow the on-screen instructions.
Using Latest Graphics Driver
One of the main reasons why your second monitor is not working is that you might have an outdated graphic card and need to replace the driver to make sure that your second monitor is compatible with your device and it is recognised by it.
You need to reinstall the driver to make sure that you troubleshoot this issue and connect your second monitor. Here’s how you do it-
- Open the ‘Start’ menu.
- Search for the device manager and then click the top result that appears on the screen to open the application.
- Double-click on the icon to expand the display adapters branch.
- Right-click on the symbol for the adapter and select the Uninstall device option.
- Clear the ‘Delete the driver software’ option from this list.
- Click on the Uninstall button.
- Restart your computer.
- Open the ‘Device Manager’ again and then right-click the computer name and select ‘Scan for hardware changes’ option from the menu.
Using Control Panel
You can access your control panel to ensure you have the correct version of the graphic card. The installation is straightforward, just download and double-click the installer and continue with the on-screen directions to complete the installation and then check for updates.
There are many manufacturers that make these graphics card and you can approach their websites to find the right upgrade-
- Intel
- NVIDIA
- AMD
You must follow the given steps to determine the graphics card and driver’s version.
- Open the ‘Start’ menu by clicking on the icon on your taskbar.
- Now, look for ‘System Information’ and choose the top result to open it.
- Next, double-click on Components to have the list of items on the left panel.
- Select the ‘Display’ category that is shown on the screen.
- Here, you can get information about the adapter type and version of the driver.
With these troubleshooting steps, you can easily manage to connect another screen to your device and make sure that you are able to connect the second screen without any errors.


